Fuel Tank


  • Completing fuel tanks
    Fuel Tank Section 18 Wing
    Apr 3, 2022

    Closing up the fuel tanks went relatively smoothly after a little planning, and watching over the video that Vans produced several times. I found that I could only do about 2 ribs in a row to stay within the working period of the proseal, which included mixing the proseal, apply it to a rib, get the rib seated and cleco'd into the tank, rivet the rib, and doing the final fillet / smoothing around edges, and sealing off the shop heads.

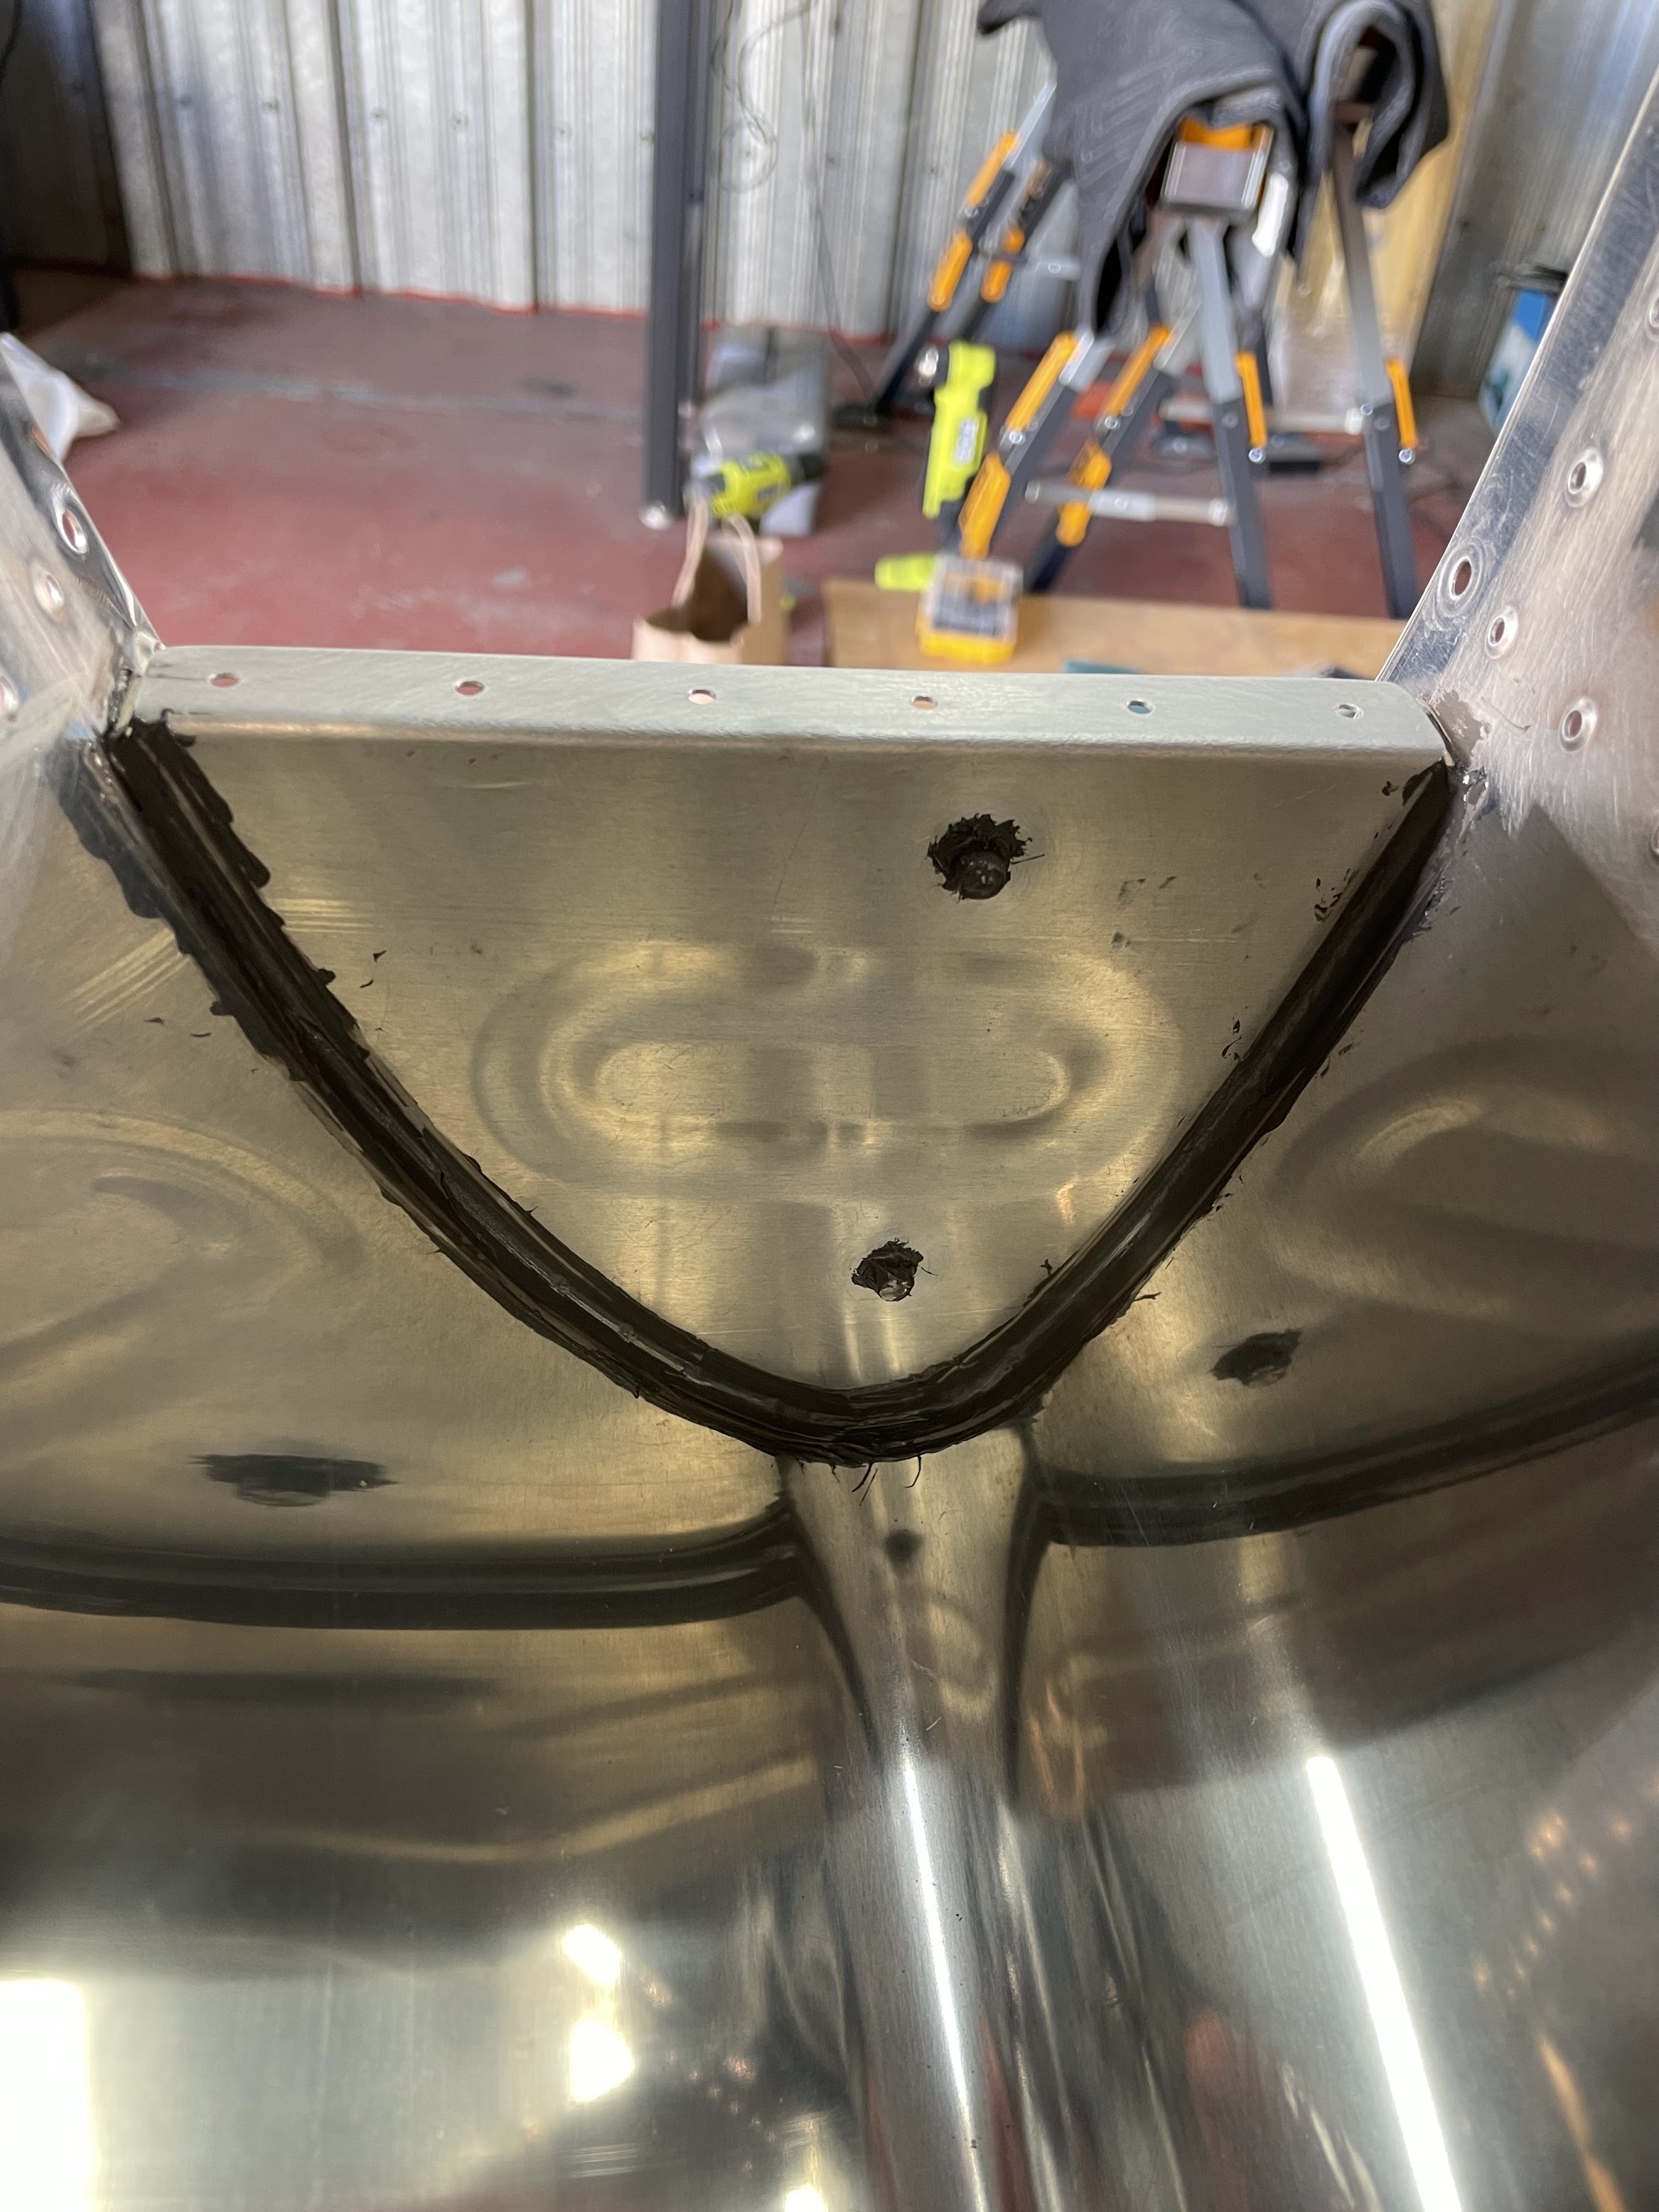
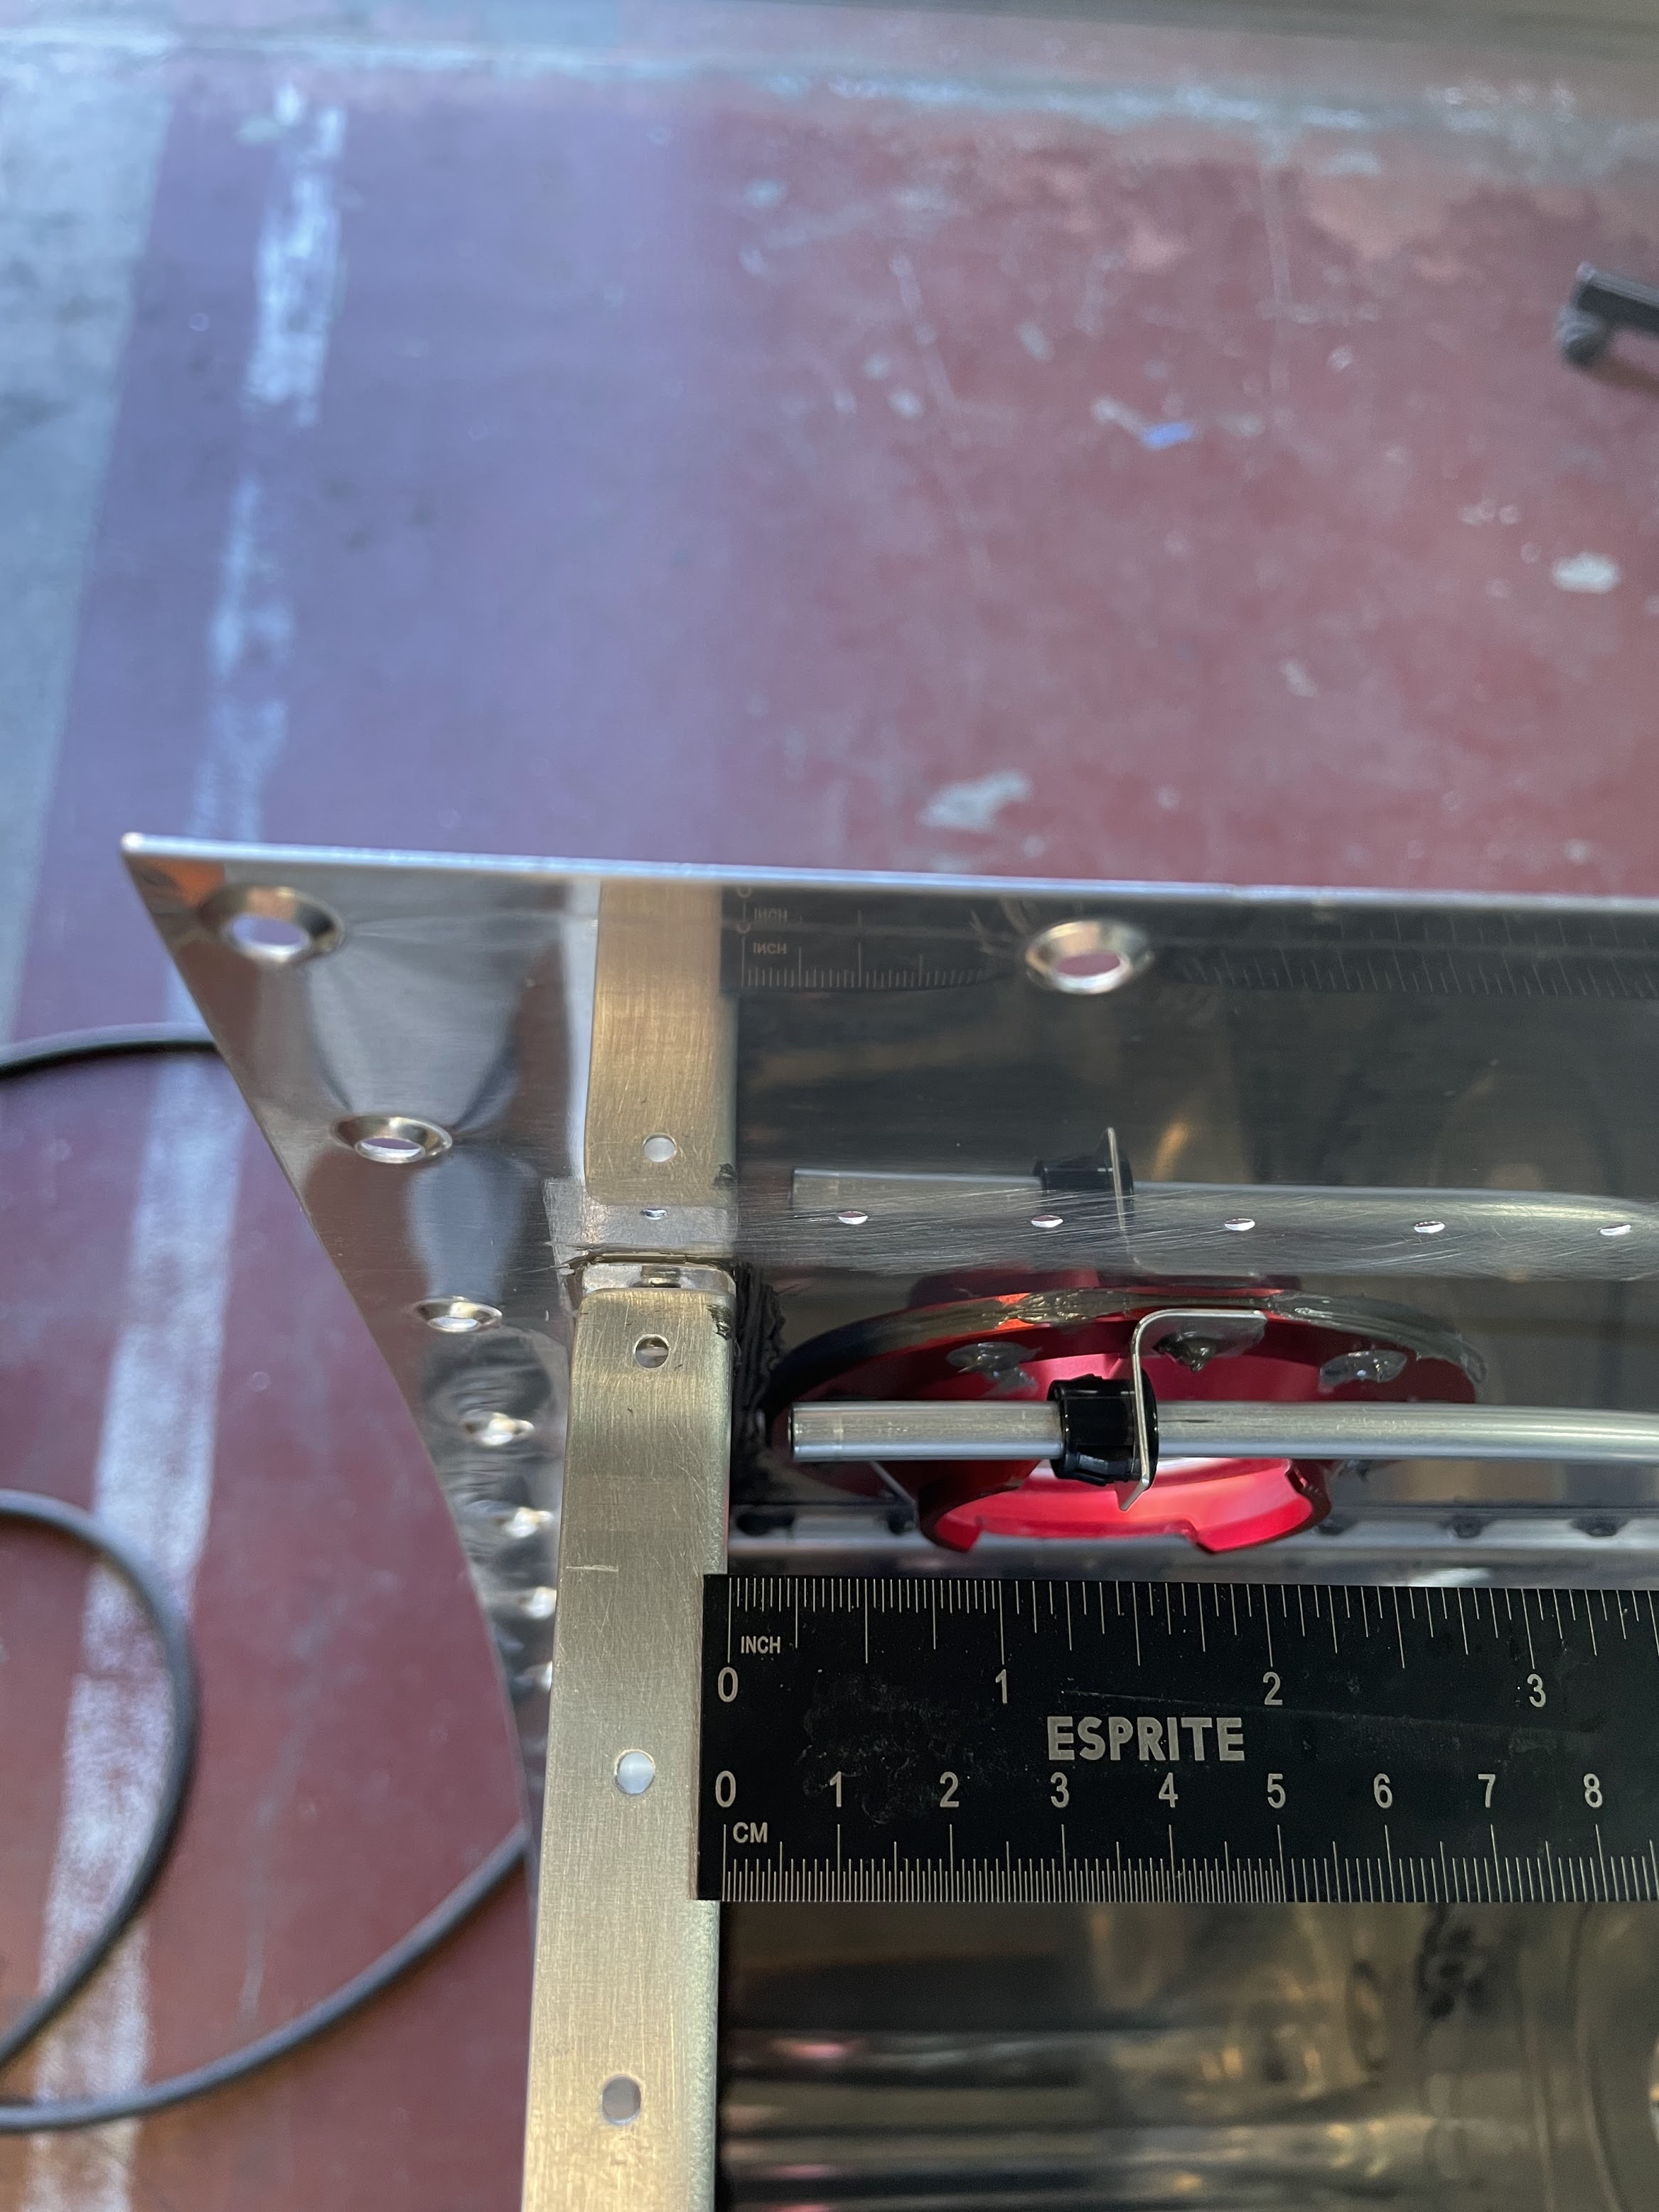
    There were two places in particular that gave me problems that I would probably have done differently if I were to do it again. The first was the inboard external ribs that butt against the tank attach bracket. This area has a lot of mating parts, and on both tanks I noticed a small leak due to insufficient sealant between the skin and the bracket flange. Simply tracing a heavy fillet between the skin and the mating parts was insufficient for sealing this area. I ended up having to drill out many of the rivets in this area, and get creative trying to press sealant under the skin to get it sealed. In hindsight I would have just slathered all the flanges in sealant and dealt with the resulting mess. The other problem area was the float sensor. This is attached with 5 screws, and I'm still unsure if I need to seal the threads of the screws, or can seal it at the head - although this can easily be addressed afterwards and doesn't need any disassembly of the tank.

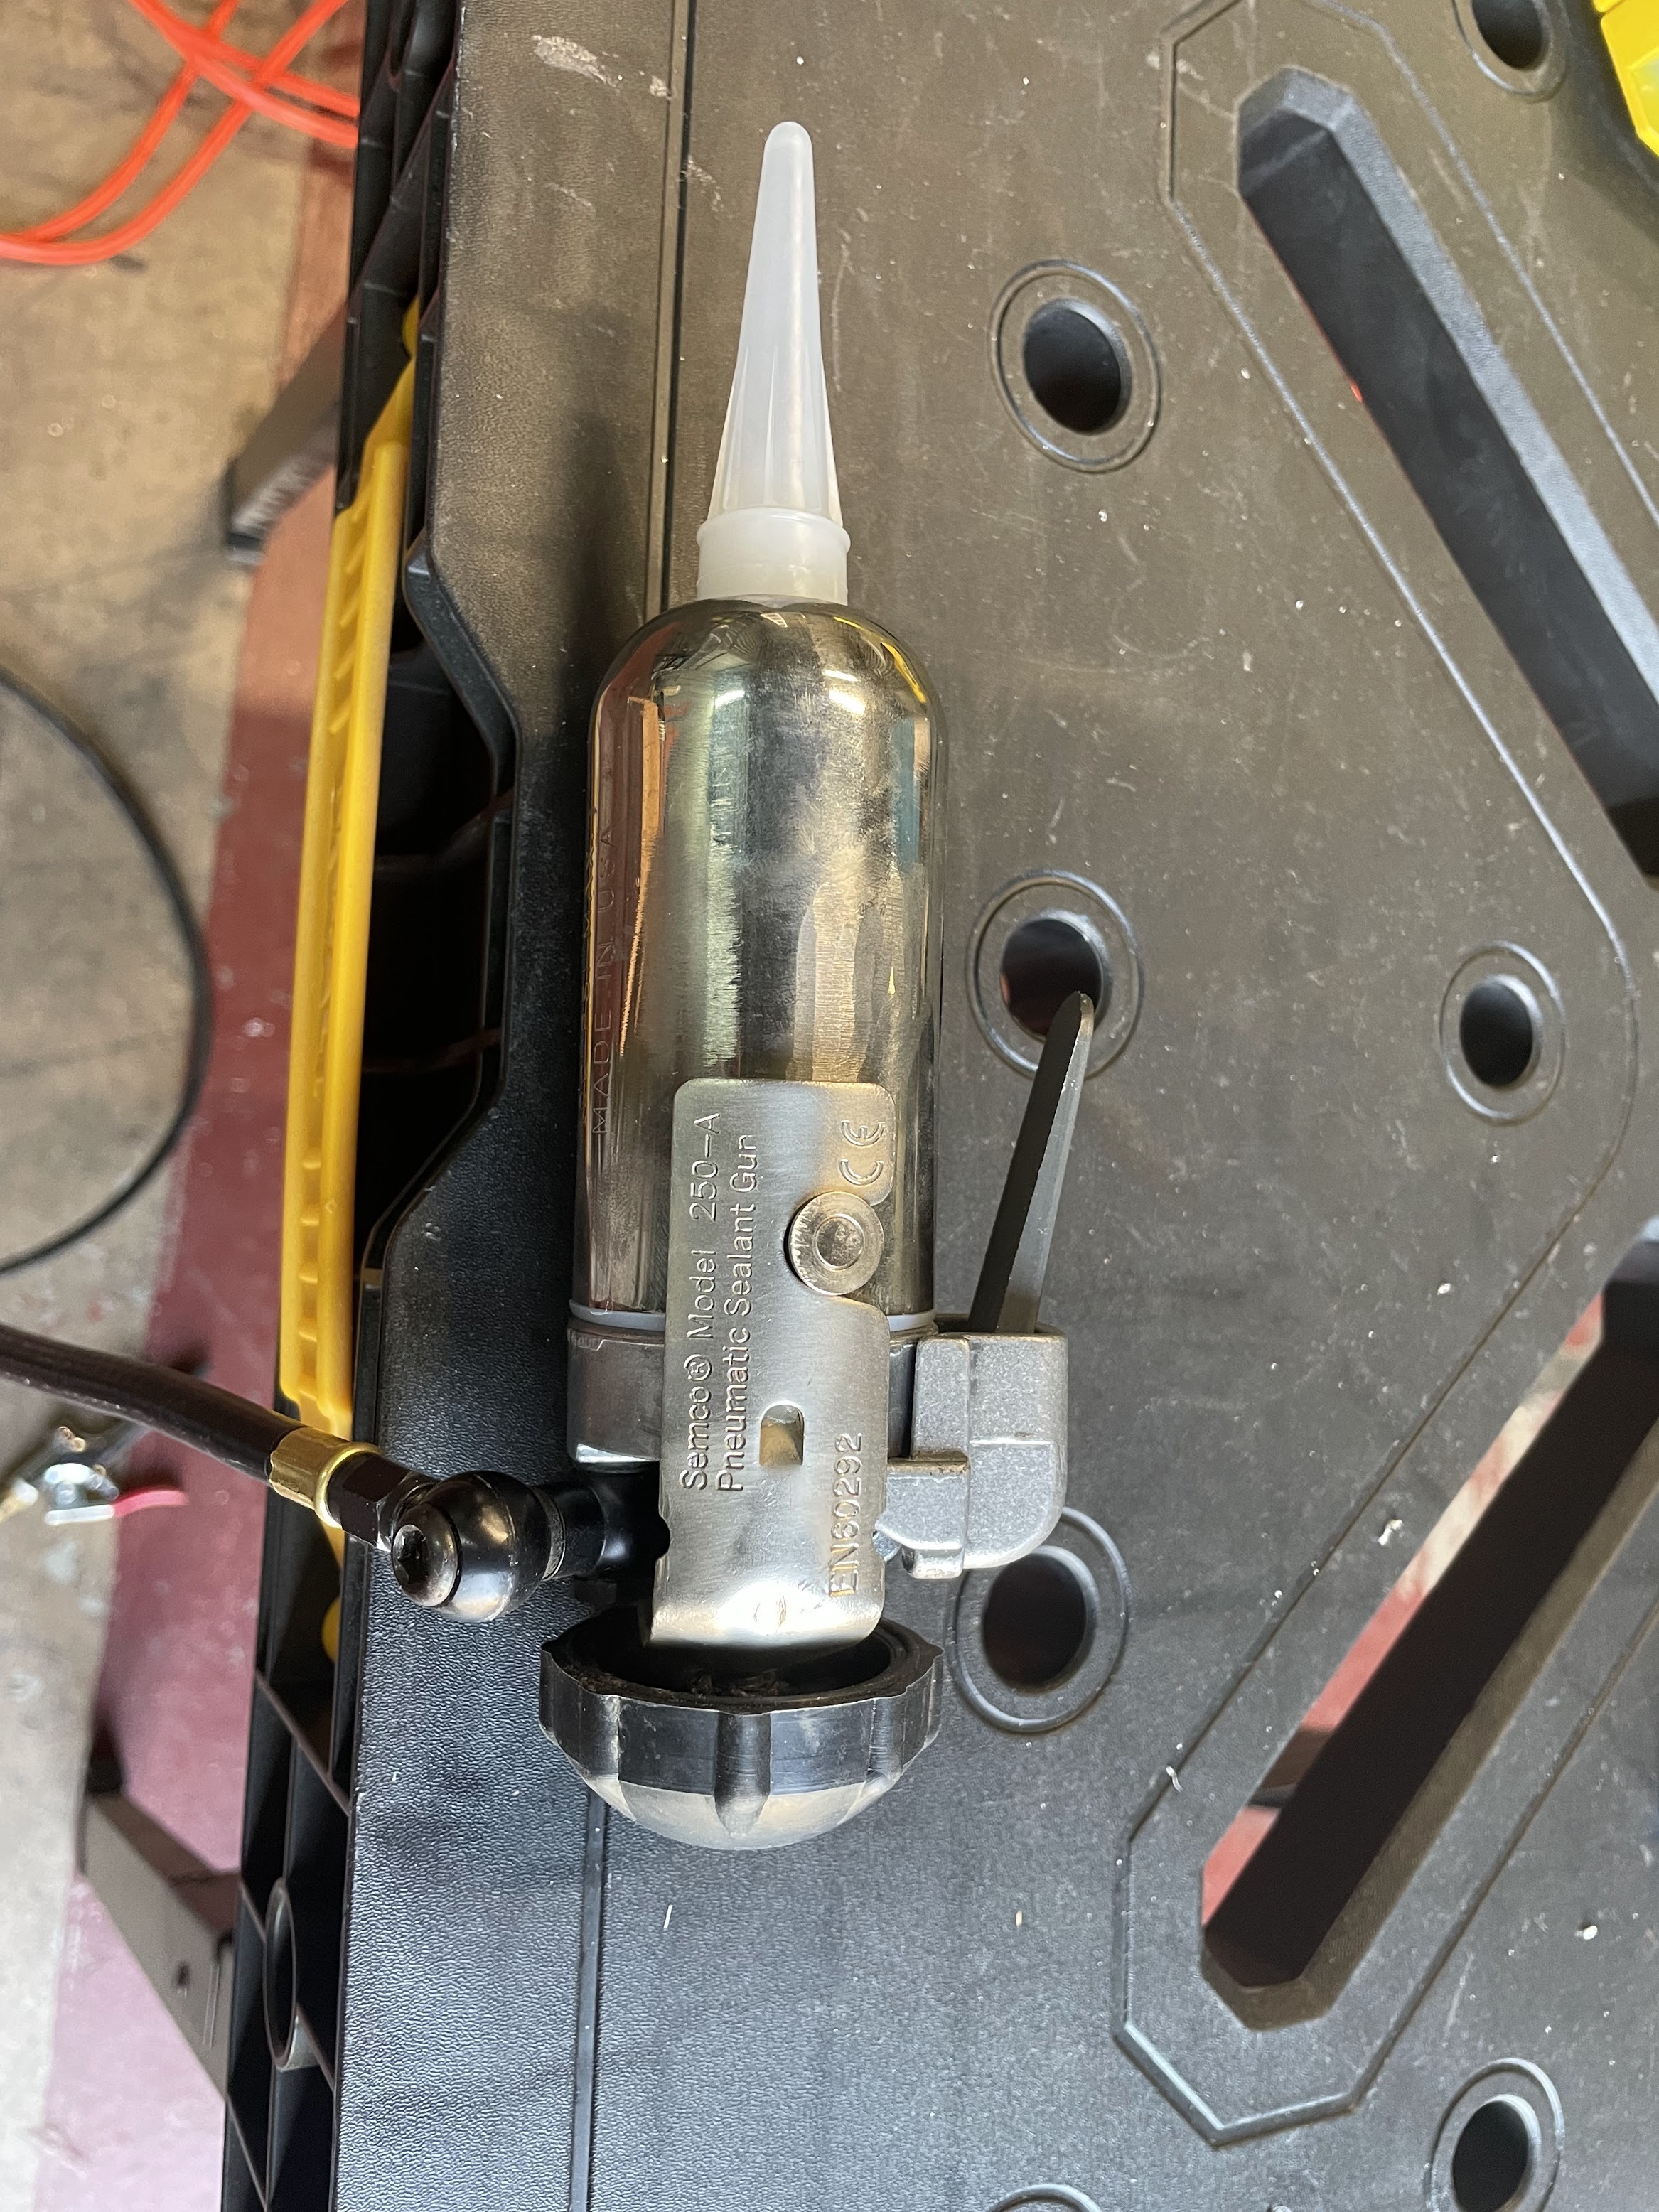
    Getting the back bulkhead in place went a bit better than expected. Using the semco gun helped quite a lot here, and laying an even continuous bead along the entire flange was actually quite easy.

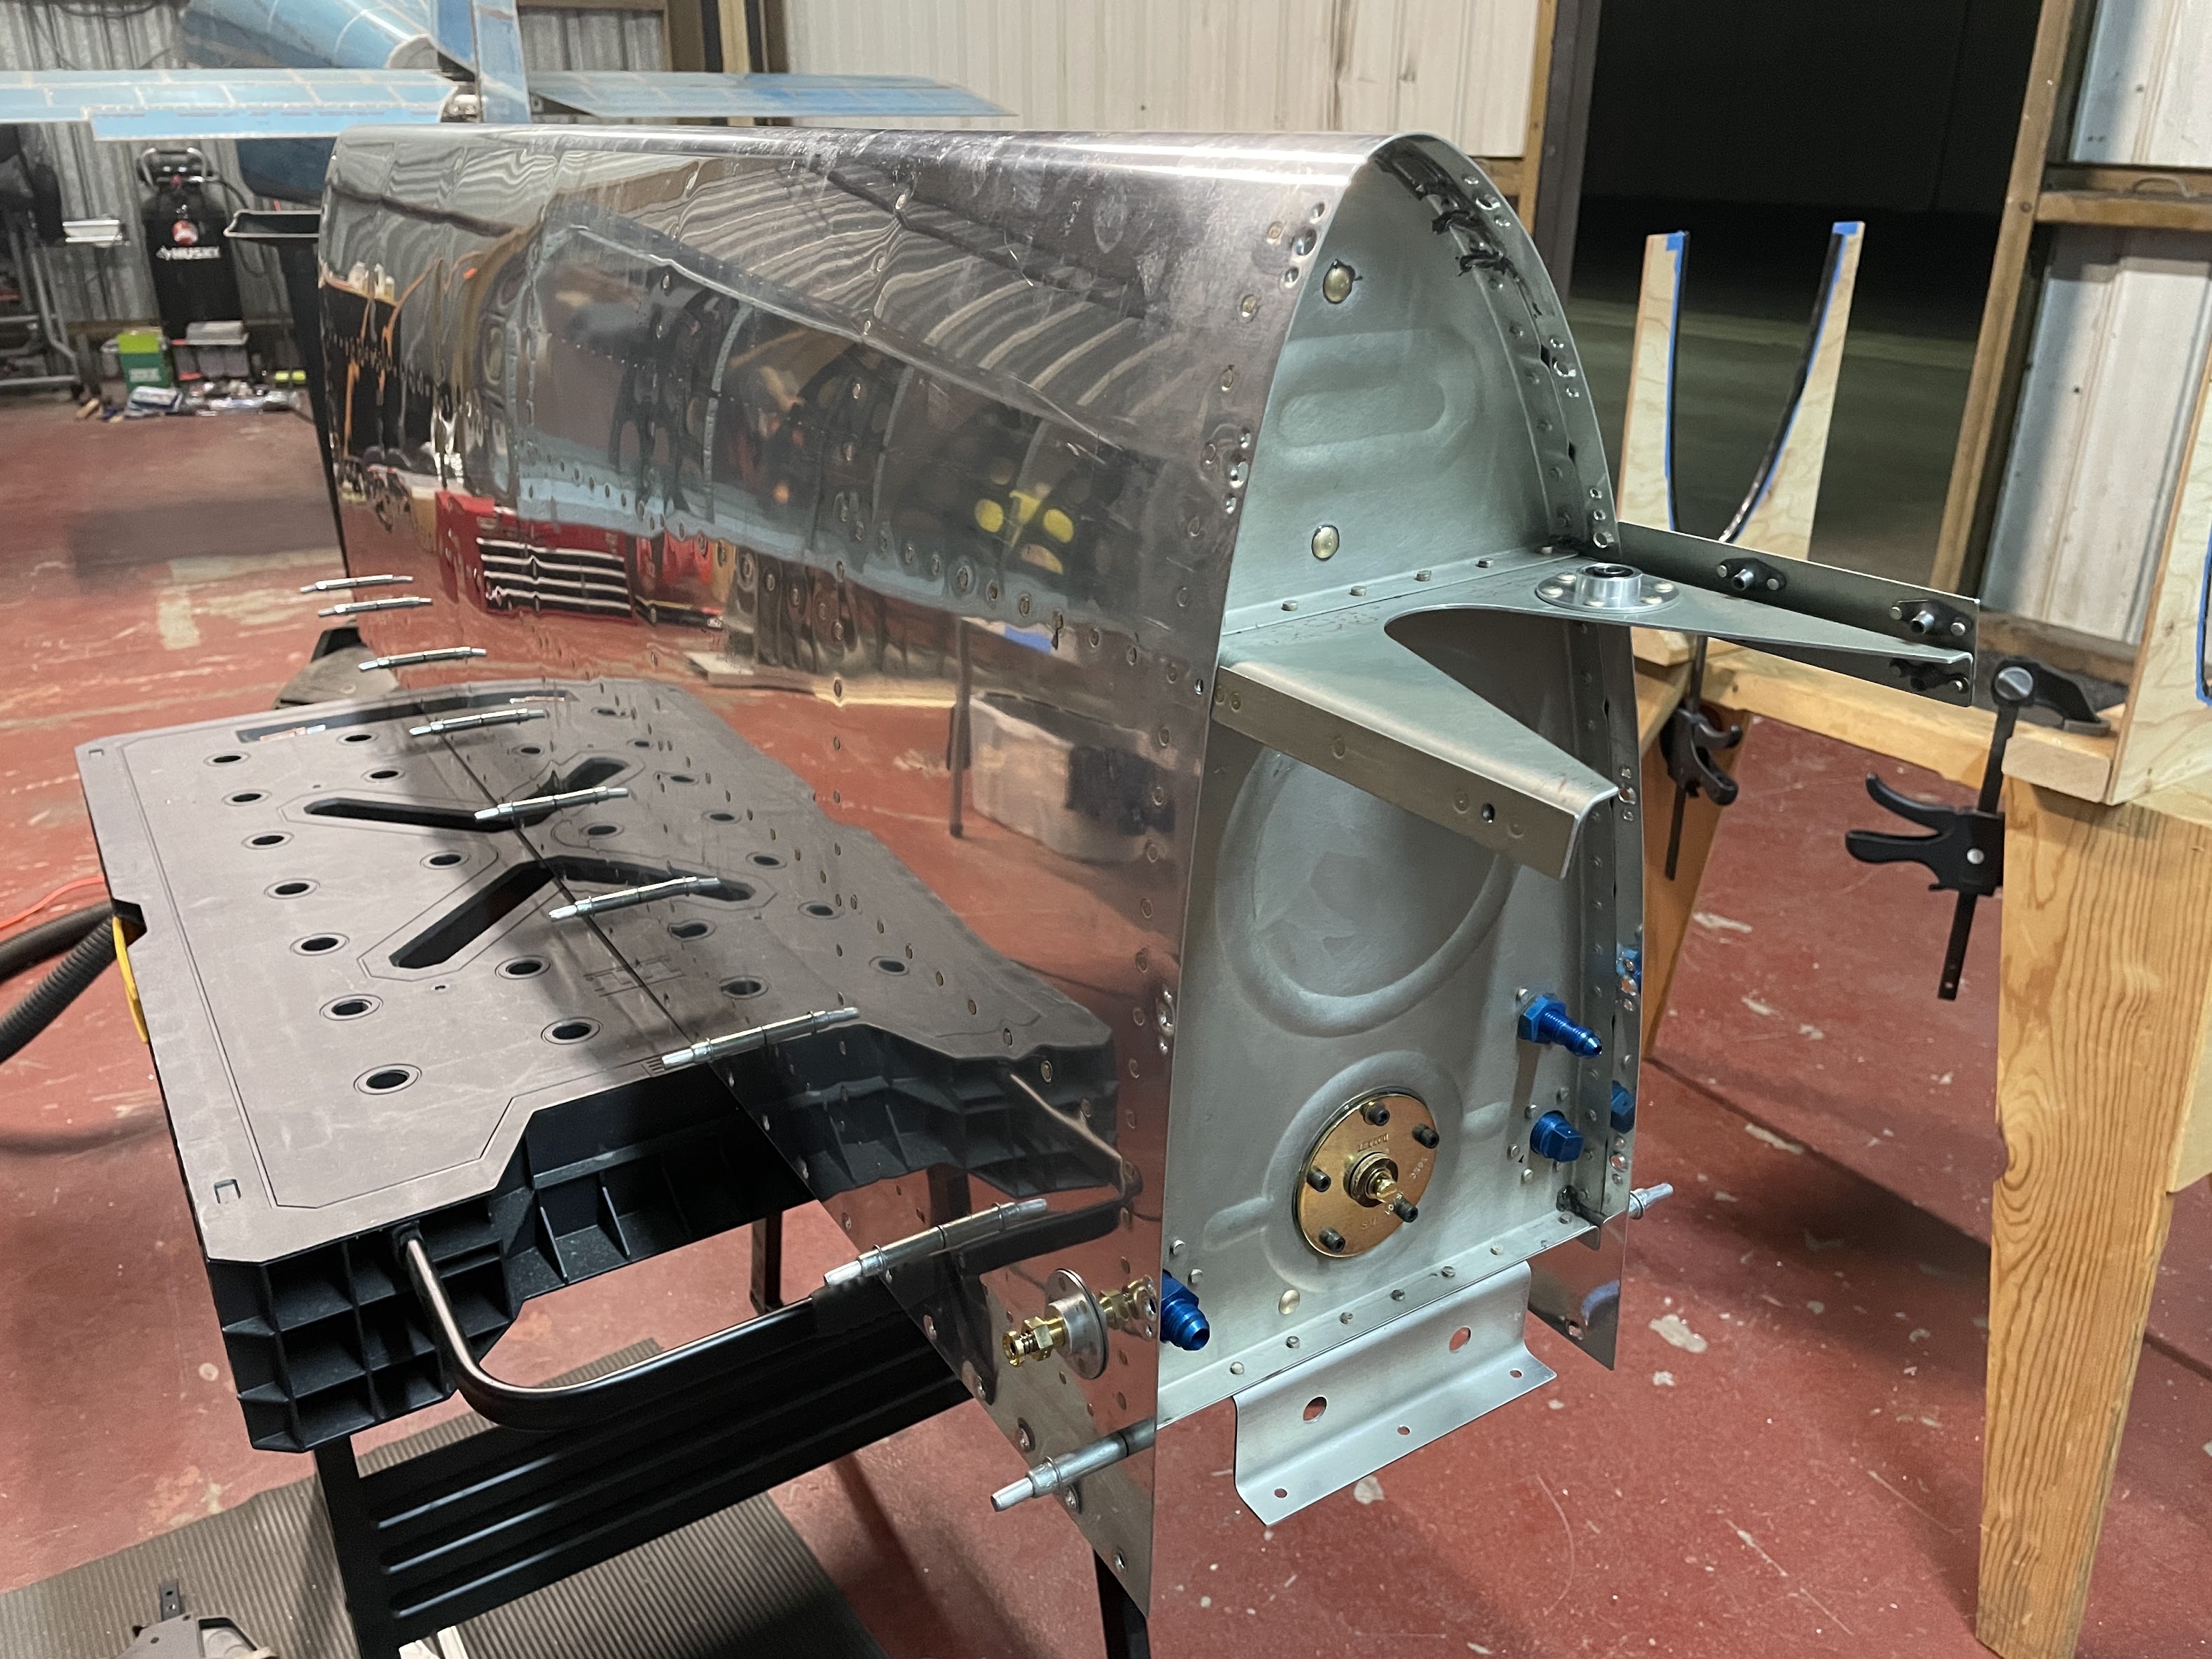
    Lastly the nervous moment of leak testing the tanks. It took several iterations of trying to tie the balloon to the fitting in a way that didn't leak right where the balloon attaches. I found that a tight rubber band seemed to do the trick. I did find a tiny pinhole at the fuel drain fitting in one tank, and a small leak in both tanks in the exact same location at the point the tank attach brackets mate with the skin. Everything was fixed, and both tanks were able to hold pressure without any noticeable change in the balloon size for at least 2 weeks. Fingers crossed that means they're leak free and robust.


  • Starting fuel tanks
    Fuel Tank Section 18 Wing
    Nov 25, 2021

    I had been putting off working on the fuel tanks for the better part of 6 months, and coincidentally have had a container of proseal sitting in the fridge for about 6 months. The impeding expiration of the sealant has created the necessary inspiration to get this one finished.

    Vans has created a wonderful walkthrough for tank construction here that has helped a lot with visualizing many of the steps as well as a bunch of good tips on technique.

    First step was all the standard material prep. I took extra care on getting all the flanges at 90-degrees, and fluting to keep the rivet lines on the ribs as straight as possible.

    When drilling out the strainer flange, it probably didn't matter that they are perfectly symmetric, but I clamped the L and R ribs together and drilled them as one. Dimpling the forward rib did indeed requires a pop-rivet style dimple die as documented.

    I decided to prime every surface that is not internal to the tank, which included the outside sides of the solid ribs, the back side of the rear baffle, and part of the tank stiffener.

    On to the proseal! First observation: while it is indeed super sticky and gets on everything if you let it, it's actually not that bad to work with, and does clean off quite easily with a little acetone. All together, I'm not sure why there is so much apprehension about it among builders.

    I masked off all the surfaces to be scuffed, and started with the stiffeners, fuel cap, and drain fitting. Essentially using the technique described in the Vans video, everything went pretty much as expected with back-riveting. I did purchase this thin-nose yoke to make riveting the fuel caps easier. Not sure if it's quite worth $150 for setting 20 rivets, but I'm sure I'll have uses for it in the future. I really didn't want to use the rivet gun to set these with the skin being so floppy.

    For sealing the shop heads, I didn't have any spare aluminum tubing as described in the Vans video, but I did have a hex screwdriver bit adapter that comes with every cheap set of drill bits that seemed to work just as well.